I have recently had a couple opportunities to share a saddle stand I made
with other doll collectors. It made me think that more
of you might appreciate this DIY.

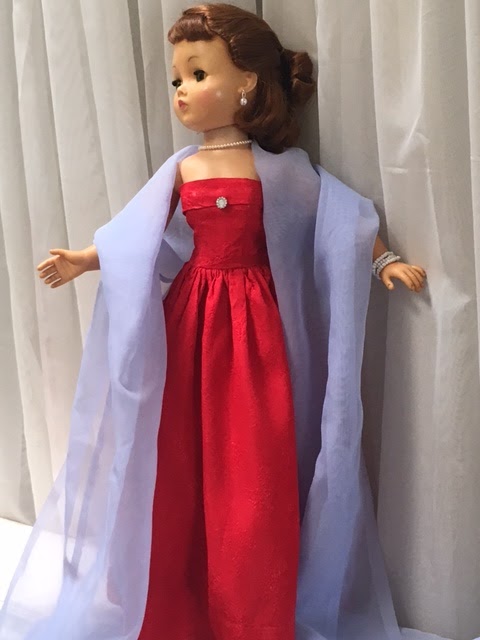
AS you know, regular waist stands are either
distracting to the outfit, like this one,
OR

Making the outfit pooch out in an
unsighlty manner.
SO, let me show you how I make
my own saddle stands.

This is the saddle stand I made for my
Madame Alexander Cissy doll.
she sits on it like a saddle and it is
invisible.

Like this, and...
This. You see, no stand waist clamps visible.
No unsightly bulges under her dress.
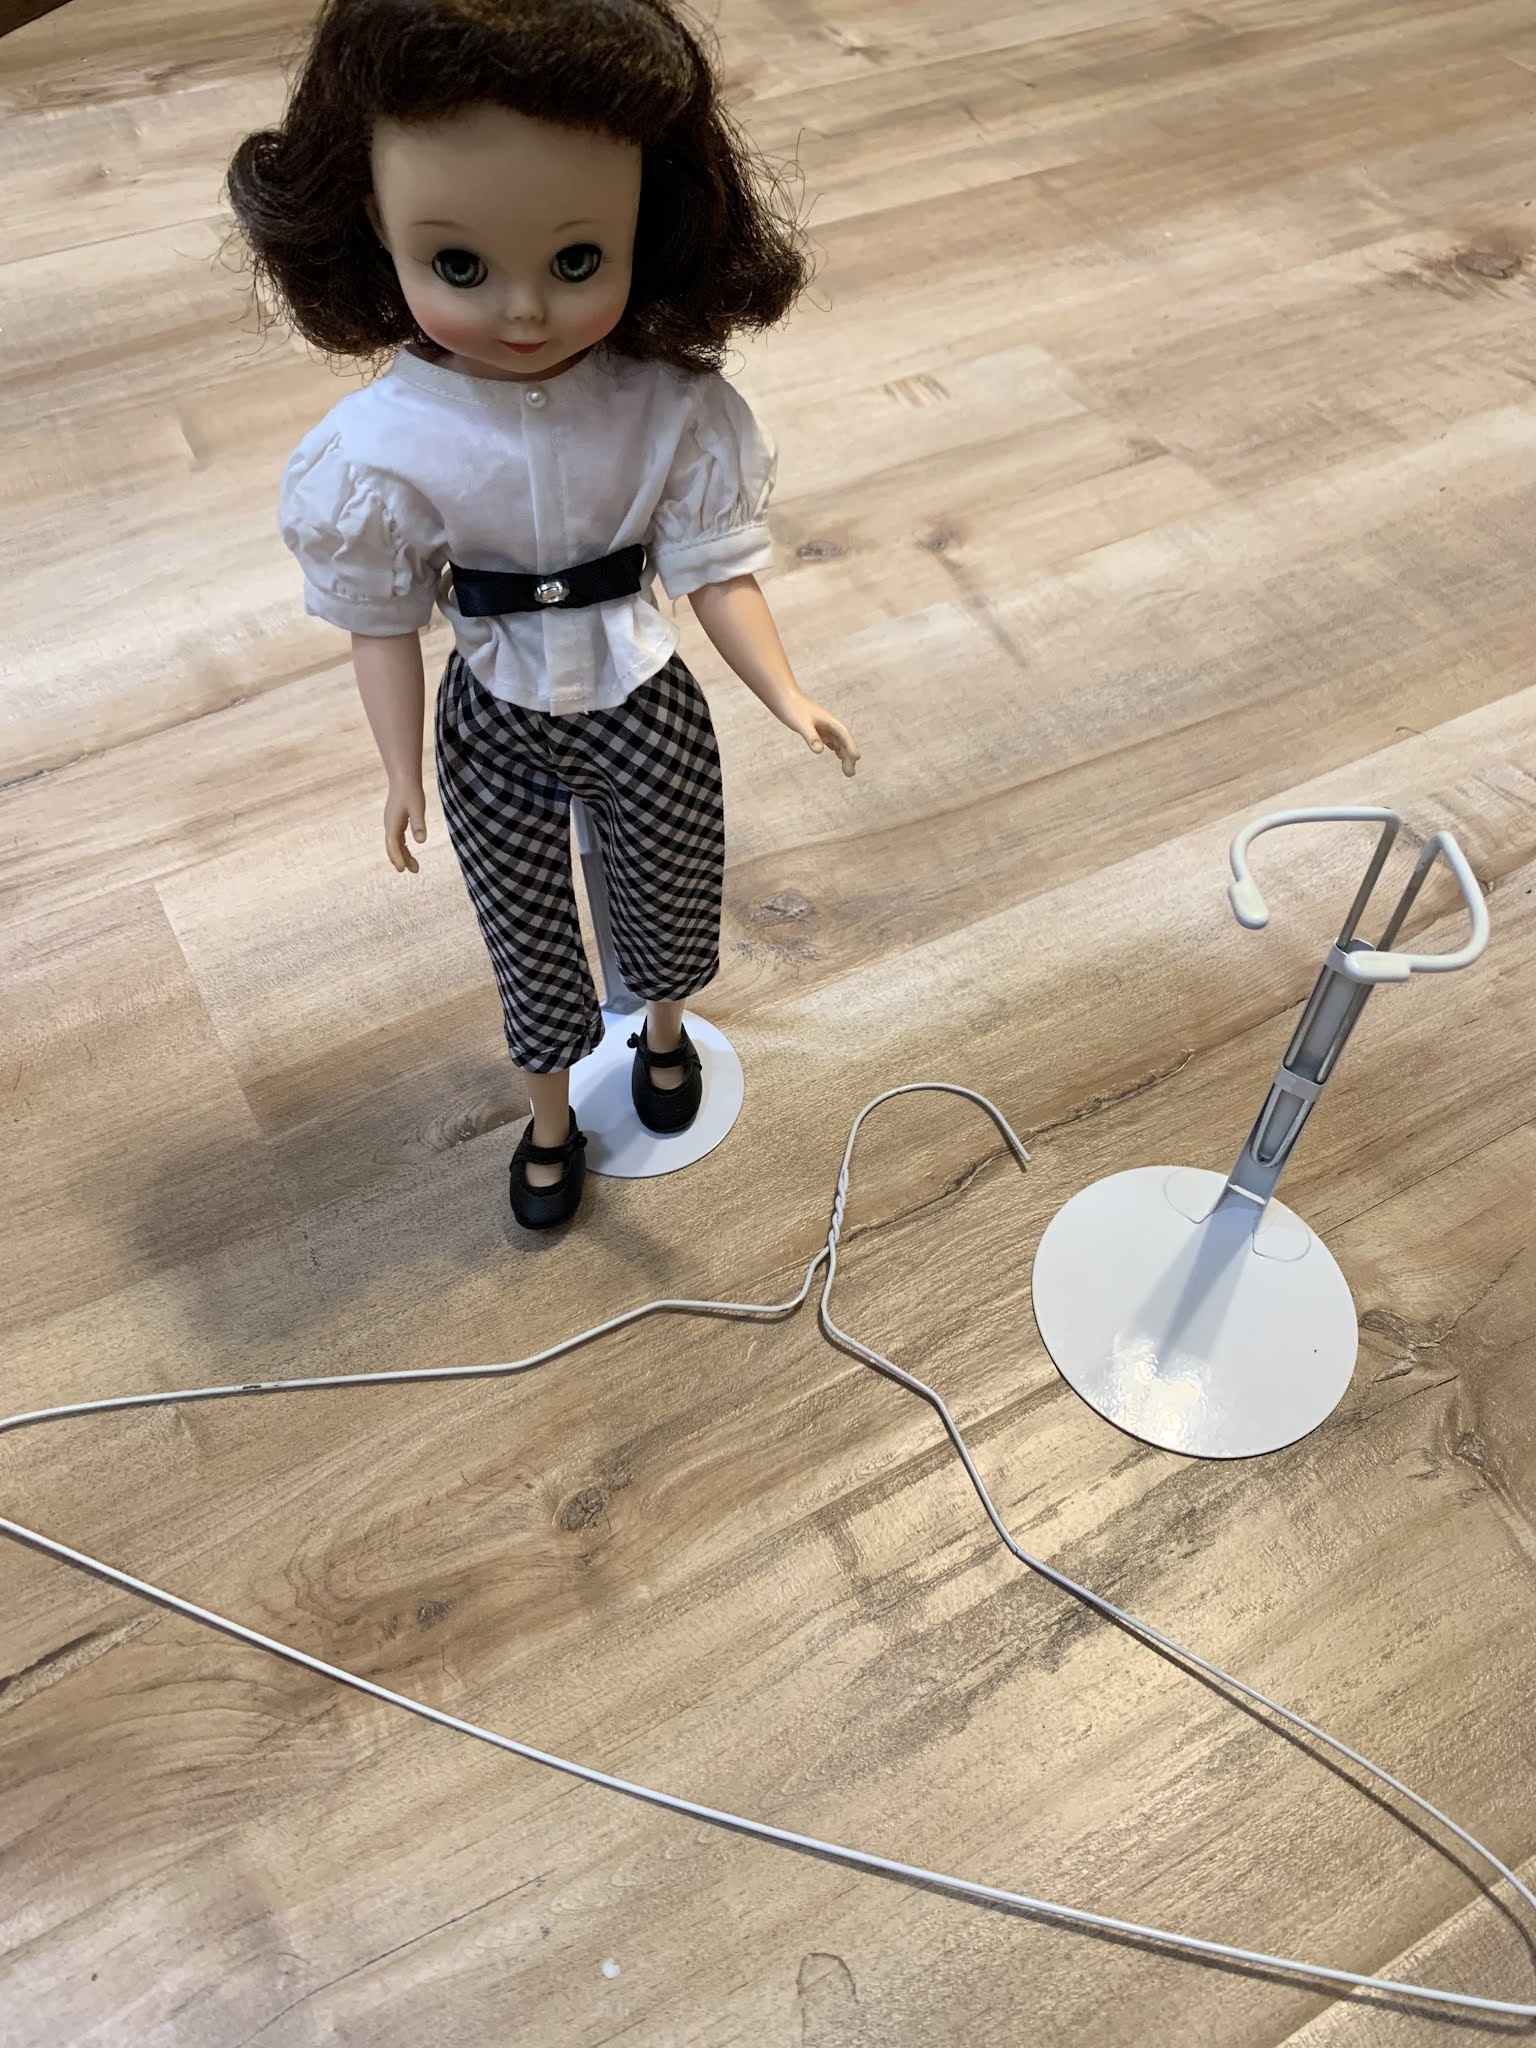
You will need a wire clothes hanger,
or similar strength wire,
a doll stand, and of course the doll
you want to make the saddle for.

You will also need some masking tape.

The stand must be about the same height
as your dolls inseam.

You will also need pliers.
The area I circled is for cutting wire.

Using cutters or pliers, cut your hanger about here.
save the remaining hook part of your hanger.

Bend the cut away part
of the hanger at the center.
This bent part is inserted into your
doll stand base.

Then fold out the wires in opposing directions.

Take the bent hanger out of the stand and create
this general shape that fits your doll.
Don't worry about the paint flaking
off the hanger wire.

You should end up with something that
looks like this. You may have to trim off
some excess wire.
Don't worry if it looks WONKY
like this one!

Next you will need painters tape.

Wrap the saddle with tape to create a smoother
seat and to protect from snags.
I suppose you could use the saddle like this,
but I like to cover the seat in felt.

I cut a rectangle a bit longer
than the seat.

I hot glue the felt to the top of the saddle first.
I think tacky glue would work too.

Next snip the felt in four places
like this.

Fold under and glue around the stem.

Continue wrapping and gluing the felt
to your saddle.

Trim off any excess felt.
Your saddle should look something like this.
reinsert your new saddle in your stand
and...
VOILA! DONE!

I am slowly creating saddle stands for the
different size dolls I have in my collection.

Before and...

After.
I hope you find this a helpful tutorial.
OH,
what about the top of your hanger?

I curl the ends like this to make doll clothes hangers.
These can also be covered in felt.

As you can see, I have made my own doll
hangers out of several wire hangers.

This allows me to hang all my larger size doll dresses.
I hope you found this helpful.
HUGS
Brenda
Can’t wait to try. I would line to share this with my doll club if you don’t mind! Thanks Arlene Martinez
ReplyDeleteYou are very welcome to share this with your doll club!
DeleteI am so pleased you find this helpful.
Hugs
Brenda
Are the saddle stands pretty sturdy for larger dolls like Himstedts?
ReplyDeleteI’m not familiar with the doll you mentioned. The first stand I made was for a 20” Madame Alexander Cissy doll.
DeleteBrenda
Great tutorial. Thank you so much.
ReplyDeleteHi Pam,
DeleteThank you! You are so welcome!
Hugs
Brenda
Hi Brenda,
ReplyDeleteIt has been in the back of my mind for ages to try and find a different solution for my dolls stands. The clothes never fit well with them. I had seen pictures of saddle stands but figured it would be to costly to replace all my current stands. Your solution is perfect . Thank you so much for another fantastic tutorial.
Anna
Hi Anna,
DeleteI am so glad I shared this. It is by far my most popular post! Apparently we have all been frustrated with traditional stands. It looks so much better without that waist line bulk.
Hugs
Brenda
These look great!
ReplyDeleteThanks Mary,
DeleteIt does improve the look of a doll taking away that bulk at the waist.
Hugs
Brenda
Thanks, Brenda! Karen
ReplyDeleteYou are SO welcome Karen!
DeleteHugs
Brenda
Someone shared this on our Bleuette page .Thank you I will be giving this a go.
ReplyDeleteYou are so welcome! Good luck.
DeleteBrenda
Thi is not only a useful idea, it is fairly simple to make When I have some crafting time I am going to give it a try - perfect for Miss Revlon and friends!
ReplyDeleteJanet
Hi Janet,
DeleteI really debated whether to share this tuorial. I thought other doll people would think it was silly. I have had MORE views and positive comments on this post over any others! I guess this was something that others struggled with, not just me! Glad you like it.
Hugs
Brenda