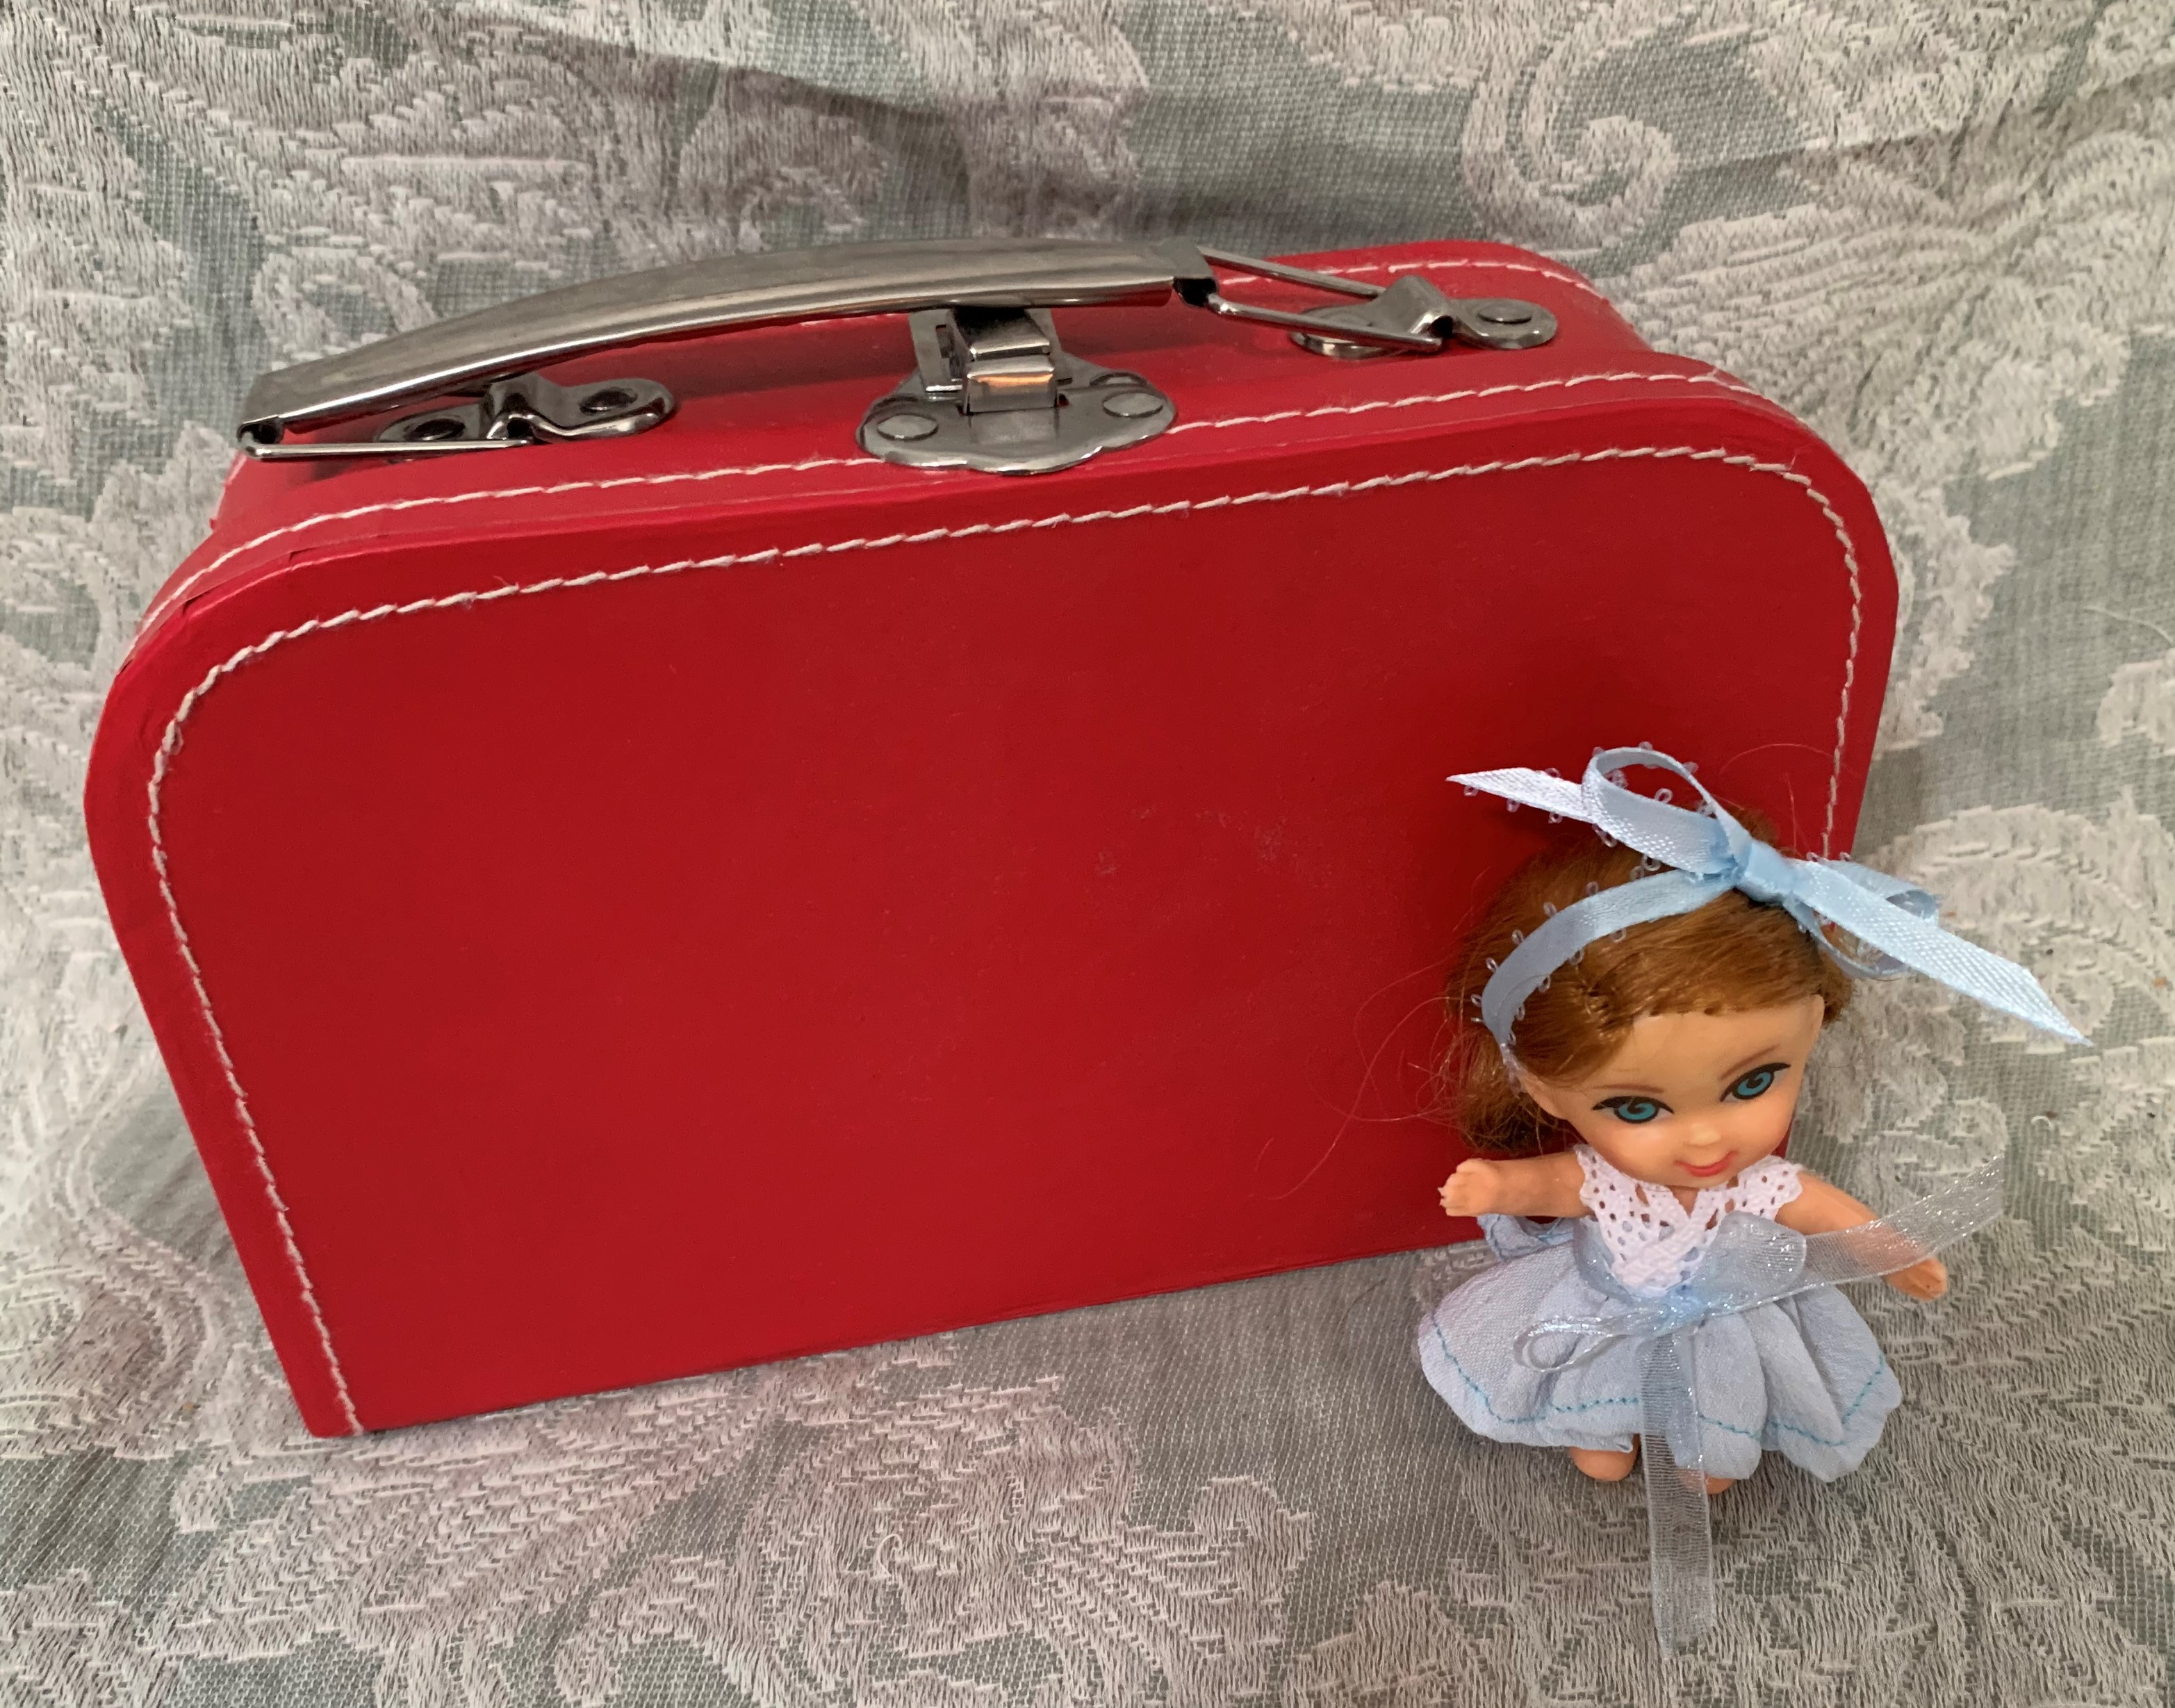
As many of you already know,
I love sewing doll dresses!
I've had some requests for this pattern
and also the pattern for the
Go-Go boots.
First the dress.
Velvet is wearing this pattern with the
Peter Pan collar and short sleeves
as shown on the pattern itself.
Cricket is wearing this pattern
with no sleeves or collar.
This is the Pattern. Click on it and "Save Image As"
to a photo folder on your computer.
I added a 1 Inch square so when you
print it, you will know if it is the right size.
I'm not doing a tutorial for the dress today,
But I am
FOR THE BOOTS!!
I have had requests for a pattern and tutorial
for these Go-Go boots.
This is the Pattern. Click on it and "Save Image As"
to a photo folder on your computer. I added a 1 Inch square
so when you print you will know if it is the right size.
This is made on an 8x11" paper.
The fabric I use is STRETCHY!!
This boot will not work with non-stretchy fabric!
I found this at my local fabric store.
It came in lots of different colors.
You could use any fabric with Lycra.
The black fabric you see is from a pair
of old Lycra workout pants.
They will make great black boots.
Cut out two of each piece. Be sure
to cut the 3 cuts in the arch. This helps the
fabric make the curve.
I will start with hand stitching for those
who don't have a sewing machine.
Lay right sides together like this.
With RIGHT SIDES of fabric together.
Start stitching with small stitches
towards the arch of the foot.
Follow the stitch line on the pattern.
This part is tricky, I admit, but keep stitching
all the way across the arch to the opposite
side. I stitched back over the arch a second time,
just to make sure there were no loose bits.
Don't worry if it's not perfect!!!
You can see mine is very wonky, but it
always seems to work out.
Before you go much further, be sure to turn down
and stitch the top edge of the boot. Machine sewers,
I use the edge of my presser foot for my stitch line.
Hand sewers, using a ruler, draw a
line in pencil to help you
sew a straight line.
This next part is the same for hand sewing
or sewing machine. Put the boot on
your doll INSIDE OUT.
Pin along the back from top to heel.
(This is my hand sewn boot, you can see
how wonky it looks around the ankle)
Next, pin SOLE to TOP in 4 places.
Toe, heel and both sides.
You can unpin the back seam to
pull the pinned boot off your doll.
This is what you should have.
Starting at the toe, sew down one side.
Turn and sew down the opposite side.
Pin the boot, inside out, on your doll.
Don't make it too tight!
Just snug, so you can take them on and off.
Stitch down the back seam, following your
pin line. Same for you hand sewers.
Trim off excess fabric.
You can see here that I re-pinned and
sewed a second line to fit better.
At this point, I finish sewing along the
heel, if it needs it.
I like to zig-zag along the back seam for reinforcement.
Turn your boot right side out
AND.....
DONE!!
(You can see this is far from perfect)
But look how cute they look on!!
And now, a few more fashions!
Shawna is wearing a dress made with the A-line
pattern above.
Crissy is looking ready for Fall in
this smock dress.
Cricket is cute in a wrap dress.
Cricket and Mia wearing their
coordinating dresses.
Shea, lovely in an upcycled crochet dress.
Cricket wearing another version of
the A-line dress.
Shawna and big sister Shea.
This is made with the same A-line pattern!
Just add 1/4" to the length.
Very pretty Crissy!
Happy Halloween Everyone!!