My Dolls Click image to go to post

My Dolls Click image to go to post
Click image to see my favorite dolls. Email me at: thesavagedollblog@gmail.com

Thursday, July 20, 2023

Happy Doll Mail

 This has been a great week for doll mail.
Getting Doll items in the mail is always fun, but
I seemed to get a shower of doll items, 
all in one week.

A lovely lady,  Anita C. contacted me
through this blog.  She had found a Miss
Revlon dress at an estate sale.

Apparently, Someone had taken an original 
dress apart to make a pattern!

She thought it might be genuine, so she
searched the web for someone who might put
the dress back together.

Anita found this blog and saw that I both, sewed
and had Miss Revlon dolls. She contacted me and asked 
if I would be interested in having this dress?
BOY! Would I! 

The next thing that arrived in the mail were 
all these misc. doll items that I had
found for a great price online.

What I was most interested in were these doll hats.
These were naturally things I was expecting, 
but then another package had arrived the same day....
A real surprise package!

My friend, Susan J. had looked through her
doll storage and found a Dawn Doll box
and some clothes and a pair of shoes
and some other items.

Wow!  I was so excited!
But wait, that's not all!

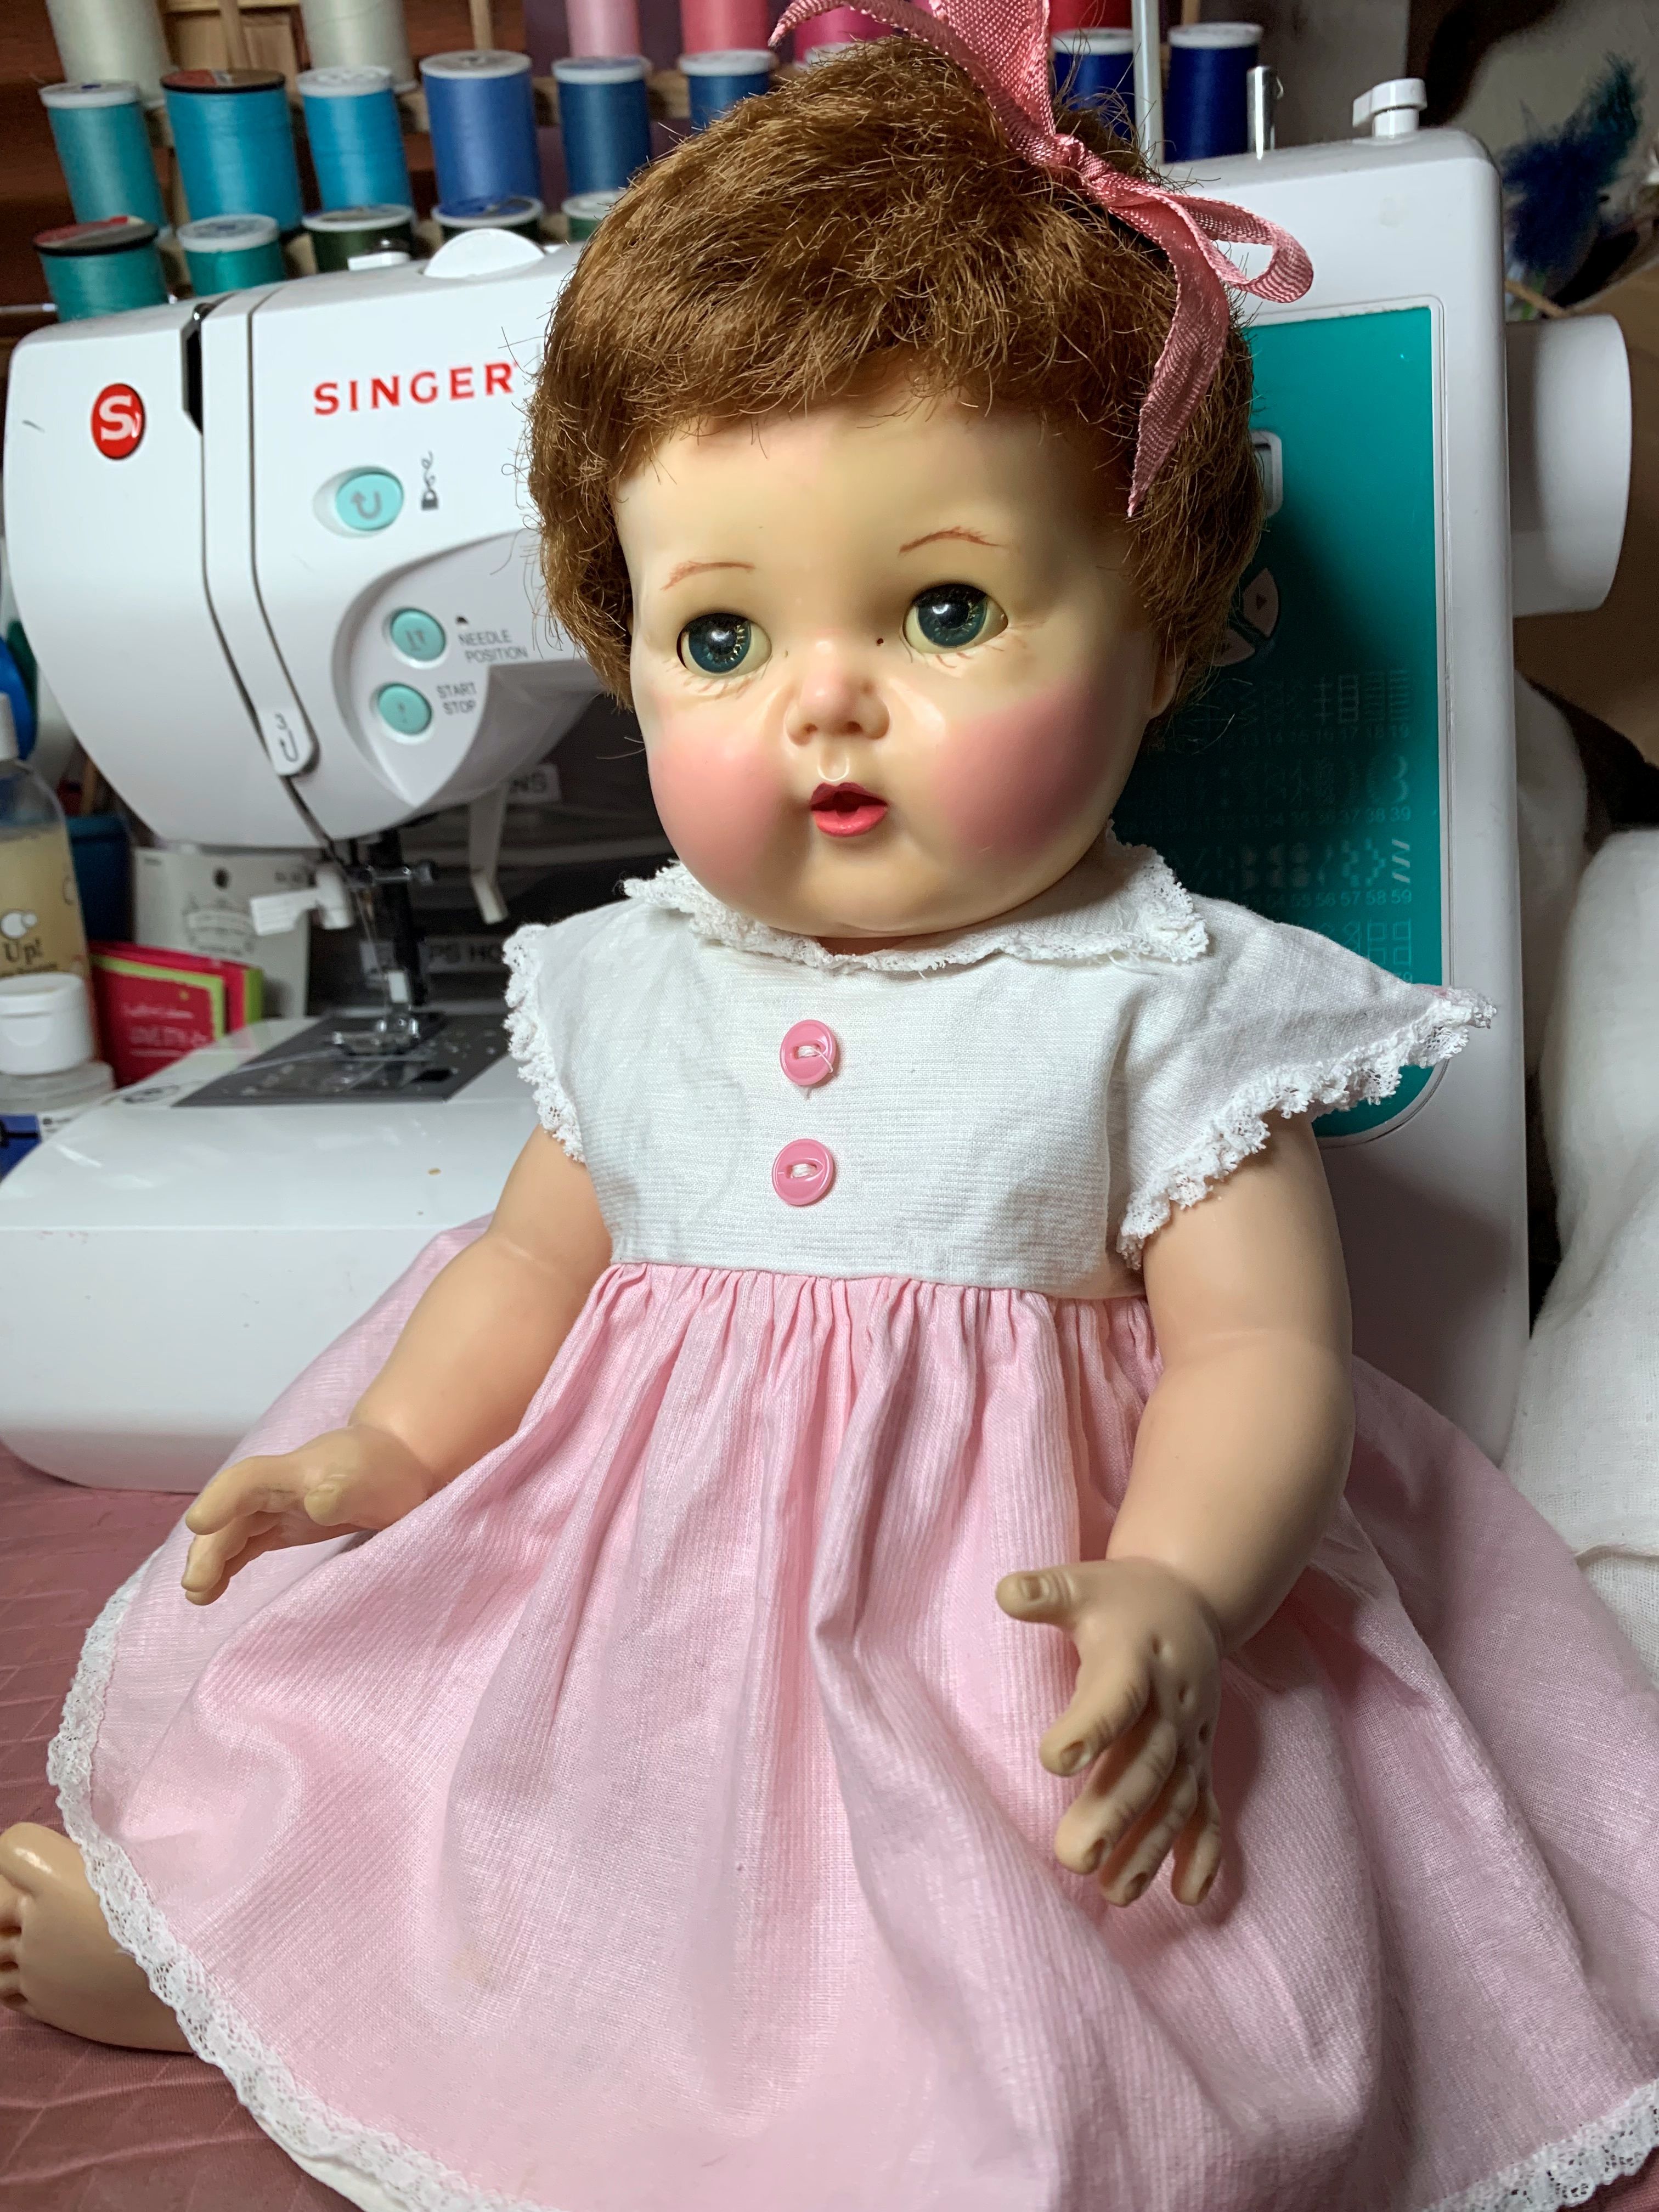
Also inside the same box were these little baby
doll items Susan had sent for my Tiny Tears.
She also sent a page of sweet pictures of
her and her sister getting their Tiny Tears
for Christmas, as girls - so sweet.

All these items were enough to fill
my Doll Cup to full, but the very next day
one more package arrived.

This long sought after "Town & Country" set
for 8" Betsy McCall arrived.

I have been hunting for this set, off and on, for some time.
I loved it so much, but it was so hard to find,

That I made this similar outfit for my
modern Betsy.

Here are both outfits, side by side.

Melanie and Sophie are so happy
to have matching outfits.

I am tickled pink with all my Happy Doll Mail.

I will be showing the restoration of this 
Miss Revlon  dress in a later post!

Thank you Susan and Anita for
the lovely doll packages!
They really made my whole week special!

Tuesday, July 11, 2023

A Dawn Doll Townhouse

As you may recall from a previous post, 
one of my collecting rules is:

"Every doll needs a place to live"

Well, this carboard book box
is going to become my Dawn Doll House!
It will also serve as a storage box for my Dawn 
dolls and their accessories.

I started by looking up images of
1970s rooms to get ideas.  Very pink!

This room was my favorite.  
I like how all these colors
are mixed. Pink, purple, 
yellow and green.

These embroidered flowers have similar
color combinations, so they are
inspiration for my Dawn room.

I looked around my sewing table and saw this
little green jewelry box.  I will make this into 
a dresser. I lightly drew the drawers in pencil.
Then went over these lines with the 
green pencil.

I selected this purple fabric for the chairs.
See my tutorial below.  These are made slightly 
smaller, but the technique is the same.

For the sofa I used another box and cut into the 
center sides  and folded it.  Then its just covered 
in batting and fabric. I use my hotglue gun to
attach fabric to my small doll furniture.

Here is the back of the finished sofa.
You can see where I cut the box
and folded it over for a sofa.

The cofee table is just a wooden cutout from
the craft store, hot glued to a wood spool.

The table kept tipping over, so I 
glued a big metal washer to the bottom.

My house needed a view from the window.
I wanted it to be a New York street.

I found this frame online.  I used my
 editing program to cut it out.

Put them together and VOILA!
I printed this out after adjusting the green hue.
After printing I cut out my image.

I cut out the craft paper I decided to use 
in my house, for art and wallpaper and...

Using a glue stick to prevent ripples....

I attached the paper cutout wallpaper, wall art and my window.

For the heavier items, like the white rabbit
and the flower wreath I use this putty.

To finish my dresser, I used pearl pins
for knobs and hot glued them in the back.
Then snipped off the excess pin.

Voila! 

Want to see the finished house?


HERE


IT


IS!


The girls love their townhouse!
OH!

And here is my latest Dawn dress that I made.

I also made these tiny go-go boots.

Thanks for stopping by!!!

Monday, July 03, 2023

Tiny Tears!

Just last week I found this little
girl in a thrift store.

She is a Tiny Tears Doll from the 1950s.
She was made by the 
American Character Doll Company.
She not only drank and wet, but
she cried little tears!

The American Character Doll Company was
located in Massachusetts. They
sold their dolls mostly through mail order in
stores like Sears and Montgomery Ward.
They peaked in popularity in the 1950s with 
dolls like Tiny Tears and Toodles.

Eventually the company went bankrupt and
was acquired by the Ideal Toy Company.
Who made the Crissy Doll line.

My Sally Ann was made by American Character.

And also my 10.5" Toni was made by
American Character.

Tiny Tears was not the only crying baby 
American Character made.
This is the "I Love Lucy" baby.

When I found my Tiny Tears, she was 
naked and SO dirty! 
She had marks on her face and
her eyes were a bit sunken in.

Getting ready for her bath, I saw
even more marks and dirt!

Yikes, this baby needs a bath!

I am using my "Heads Up" shampoo and 
conditioner. I washed her hair twice.
The magic eraser took off all the dirt and marks.

After her bath I worked this conditioner 
into her hair and combed it through.
This works really well on dry stiff hair.

You can see a little more shine already.
I was considering fixing her eyes, but when
she sits up they are fine, so I decided
to leave her eyes alone.

I use this finishing spray for synthetic hair.
It is like hair spray, but really adds shine.
When it dries it is not sticky.

I spray it on and comb it through.
You can see how much shine it adds.

Next she needs some more color on her lips and cheeks.
I use a melon color and a flesh tone.
I use a small brush and paint her lips with the melon.

For cheeks the 2 colors are mixed half and half.
Then I use a makeup sponge tapped dry on a paper towel.
Then I lightly pat her cheeks with the sponge.

I also repainted her eyebrows and gave her
some lower lashes.

I was fortunate enough to find this dress
online, the very next day! 

And now she's ready for her photo shoot.

Very sweet!

I am SO pleased with how she came out.

Oh! And her little bracelet says, "Lara".

Lara, Before and After