
Certain dolls just cry out for a little something
extra. Hats definitely fill the bill.

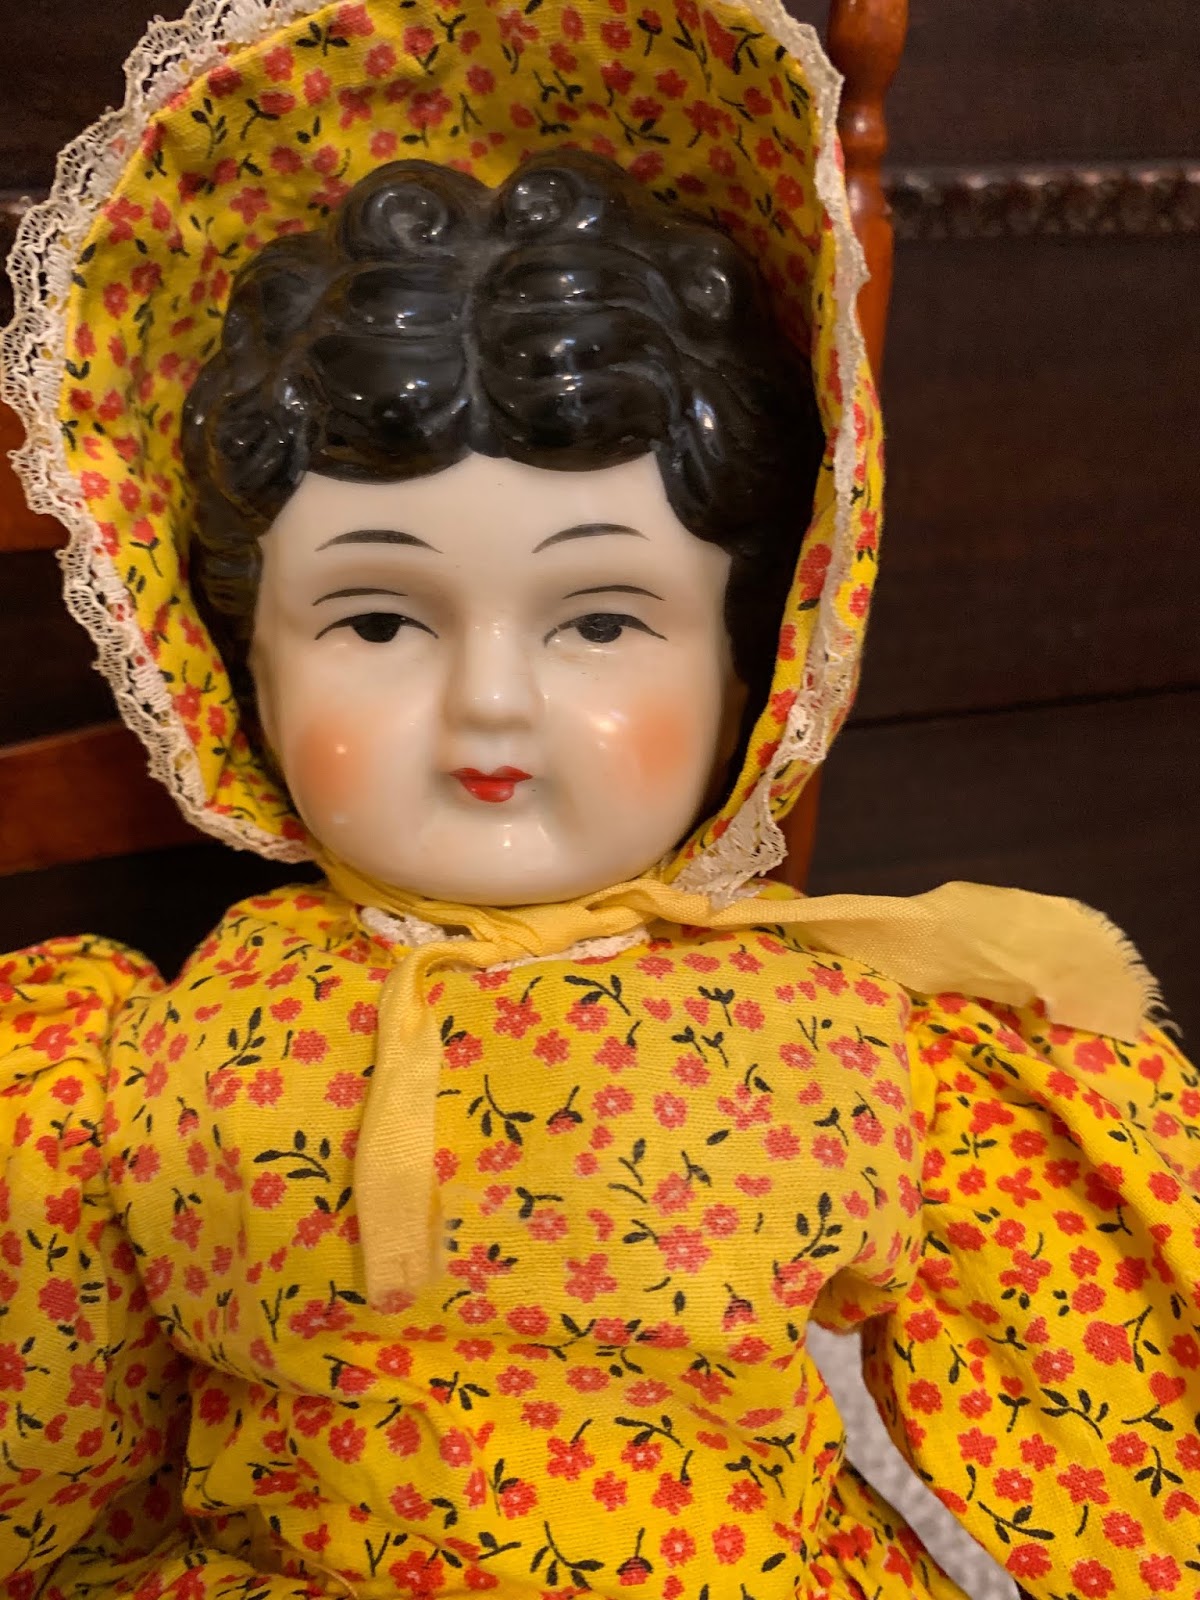
Clara is an antique doll I restored. I made her
a new dress and matching bonnet.

Here is a side view of Clara's bonnet.

For Verabelle, my reproduction doll, I also
made a new dress and bonnet.
This is the dress that I found her in.
YiKES!
(no wonder she wanted to be rescued!)
BONNET TUTORIAL

You will need some fabric, ribbon, wide lace
and narrow lace, flowers or other decor.
(Antique buttons and earrings work great!)
Tacky glue or glue gun is also very useful.

First I measure from jawline to jawline, ending
just below the cheeks.

Then from back of the head to a little past the face.
You want the bonnet to slightly shade her face.

Using these measurements I make a cardboard insert.
This will give the bonnet structure and prevent flopping.
The cardboard of tissue boxes or cereal boxes
is lightweight and works well.
(Use a cup or bowl to create the rounded shape)

Using your cardboard cutout, trace onto
your folded fabric leaving extra space
for folds and seams. This will be sewn or
glued to the cardboard.

On one side only of the fabric cover sew your narrow
lace with corners folded back as shown.
This will be folded under so the lace
is framing the doll's face.

I have sewn my 2 pieces of fabric together,
leaving the longest edge open.
The cardboard is inserted inside the fabric.

The side with no lace is glued to the cardboard.
I usually use a gluegun, but mine is still packed!
I used Tacky glue instead.

Turn the lace edge out and glue it down as well.
The lace edged side will be the top of the bonnet.

Cut a piece of the wide lace a little wider than your bonnet.
This way you can fold the cut edge under as you stitch
or glue it onto the bonnet.

I have glued all 4 sides of wide lace,
folding under the raw edges along the sides.

At this point I add ribbon and decor, while
the bonnet is still flat.
.jpg)
This is Verabelle's bonnet. It is the first I made.
As you can see it is very simple.
I did not add the following step.
You can decide what
works best for you.
.jpg)
Here is the inside. This is the simplest bonnet
version. The next steps will enclose the back,
but may not be necessary for a display doll.
The final step!
If you want the closed back bonnet...

Cut a second piece of the wide lace.
This will create the back piece of
the bonnet.

Tack down and sew or glue the lace to
the back edge of the bonnet. I have sewn
my lace down, but glue will work too.

Starting about halfway down the side of the lace,
begin in and out stitches with a double thread.

Continue gathering all around to
the opposite side.

When the lace is all gathered tie in a knot.
Add a little ribbon or other decoration.

Here is a side view of my tutorial bonnet
being modeled by Verabelle.

Happy Bonnet Making!!

2 comments:
So beautiful! Thanks for sharing. It's a really nice post and unusual to see. Love it! -Jennifer
Hi Jennifer,
Thank you! I started this blog to show other doll lovers how simple it is to make their beloved dolls beautiful again. I am so glad you enjoyed this post!
Hugs
Brenda
Post a Comment